
Ladder Display Shelves

It has been over a year now since I made my ladder shelf display with my dad for my in-person events. The inspiration to make the display came from wanting to elevate my vendor booth and have another way to display my products. Scrolling through Pinterest I came across shelves and displays similar to what I wanted. With an idea in my head and an “I can make that” attitude I decided to just make one.
I had some specifications that needed to be met for my display. It had to fit in my car and it had to incorporate wood I already had. Two things that seem simple but made finding plans to fit what I needed hard to find. Thankfully the ladder shelf concept is pretty simple and with the help from my dad we were able to figure out what we needed and what would work.
I am so proud of this display. We were able to make it fit my needs and we made it ourselves in just a few hours. I have used this display at almost every show since making it and it has held up beautifully. I left it natural but it could certainly be painted or stained and sealed.
Now on to how we made the display.
One of my requirements was that I use wood I already had on hand. I was graciously gifted some cedar shelves from a friend who was remodeling that would be perfect for this. They would make up the three shelves of my display but were an odd size being 11 inches deep.
The frame needed thinner wood that I would need to purchase. We decided to buy 1 x 2’s (actual size is ¾ x 1 ½ inches). We bought 5 or 6 6-foot-long boards, along with 2 1 ½ inch hinges from Home Depot. We had ½ inch square dowels and screws on hand that we planned on using to finish the frame.
The frame itself needed to be no longer than 54 inches long to comfortably fit in the back of my car and needed to accommodate the 11-inch-deep shelves. From there we came up with a plan.

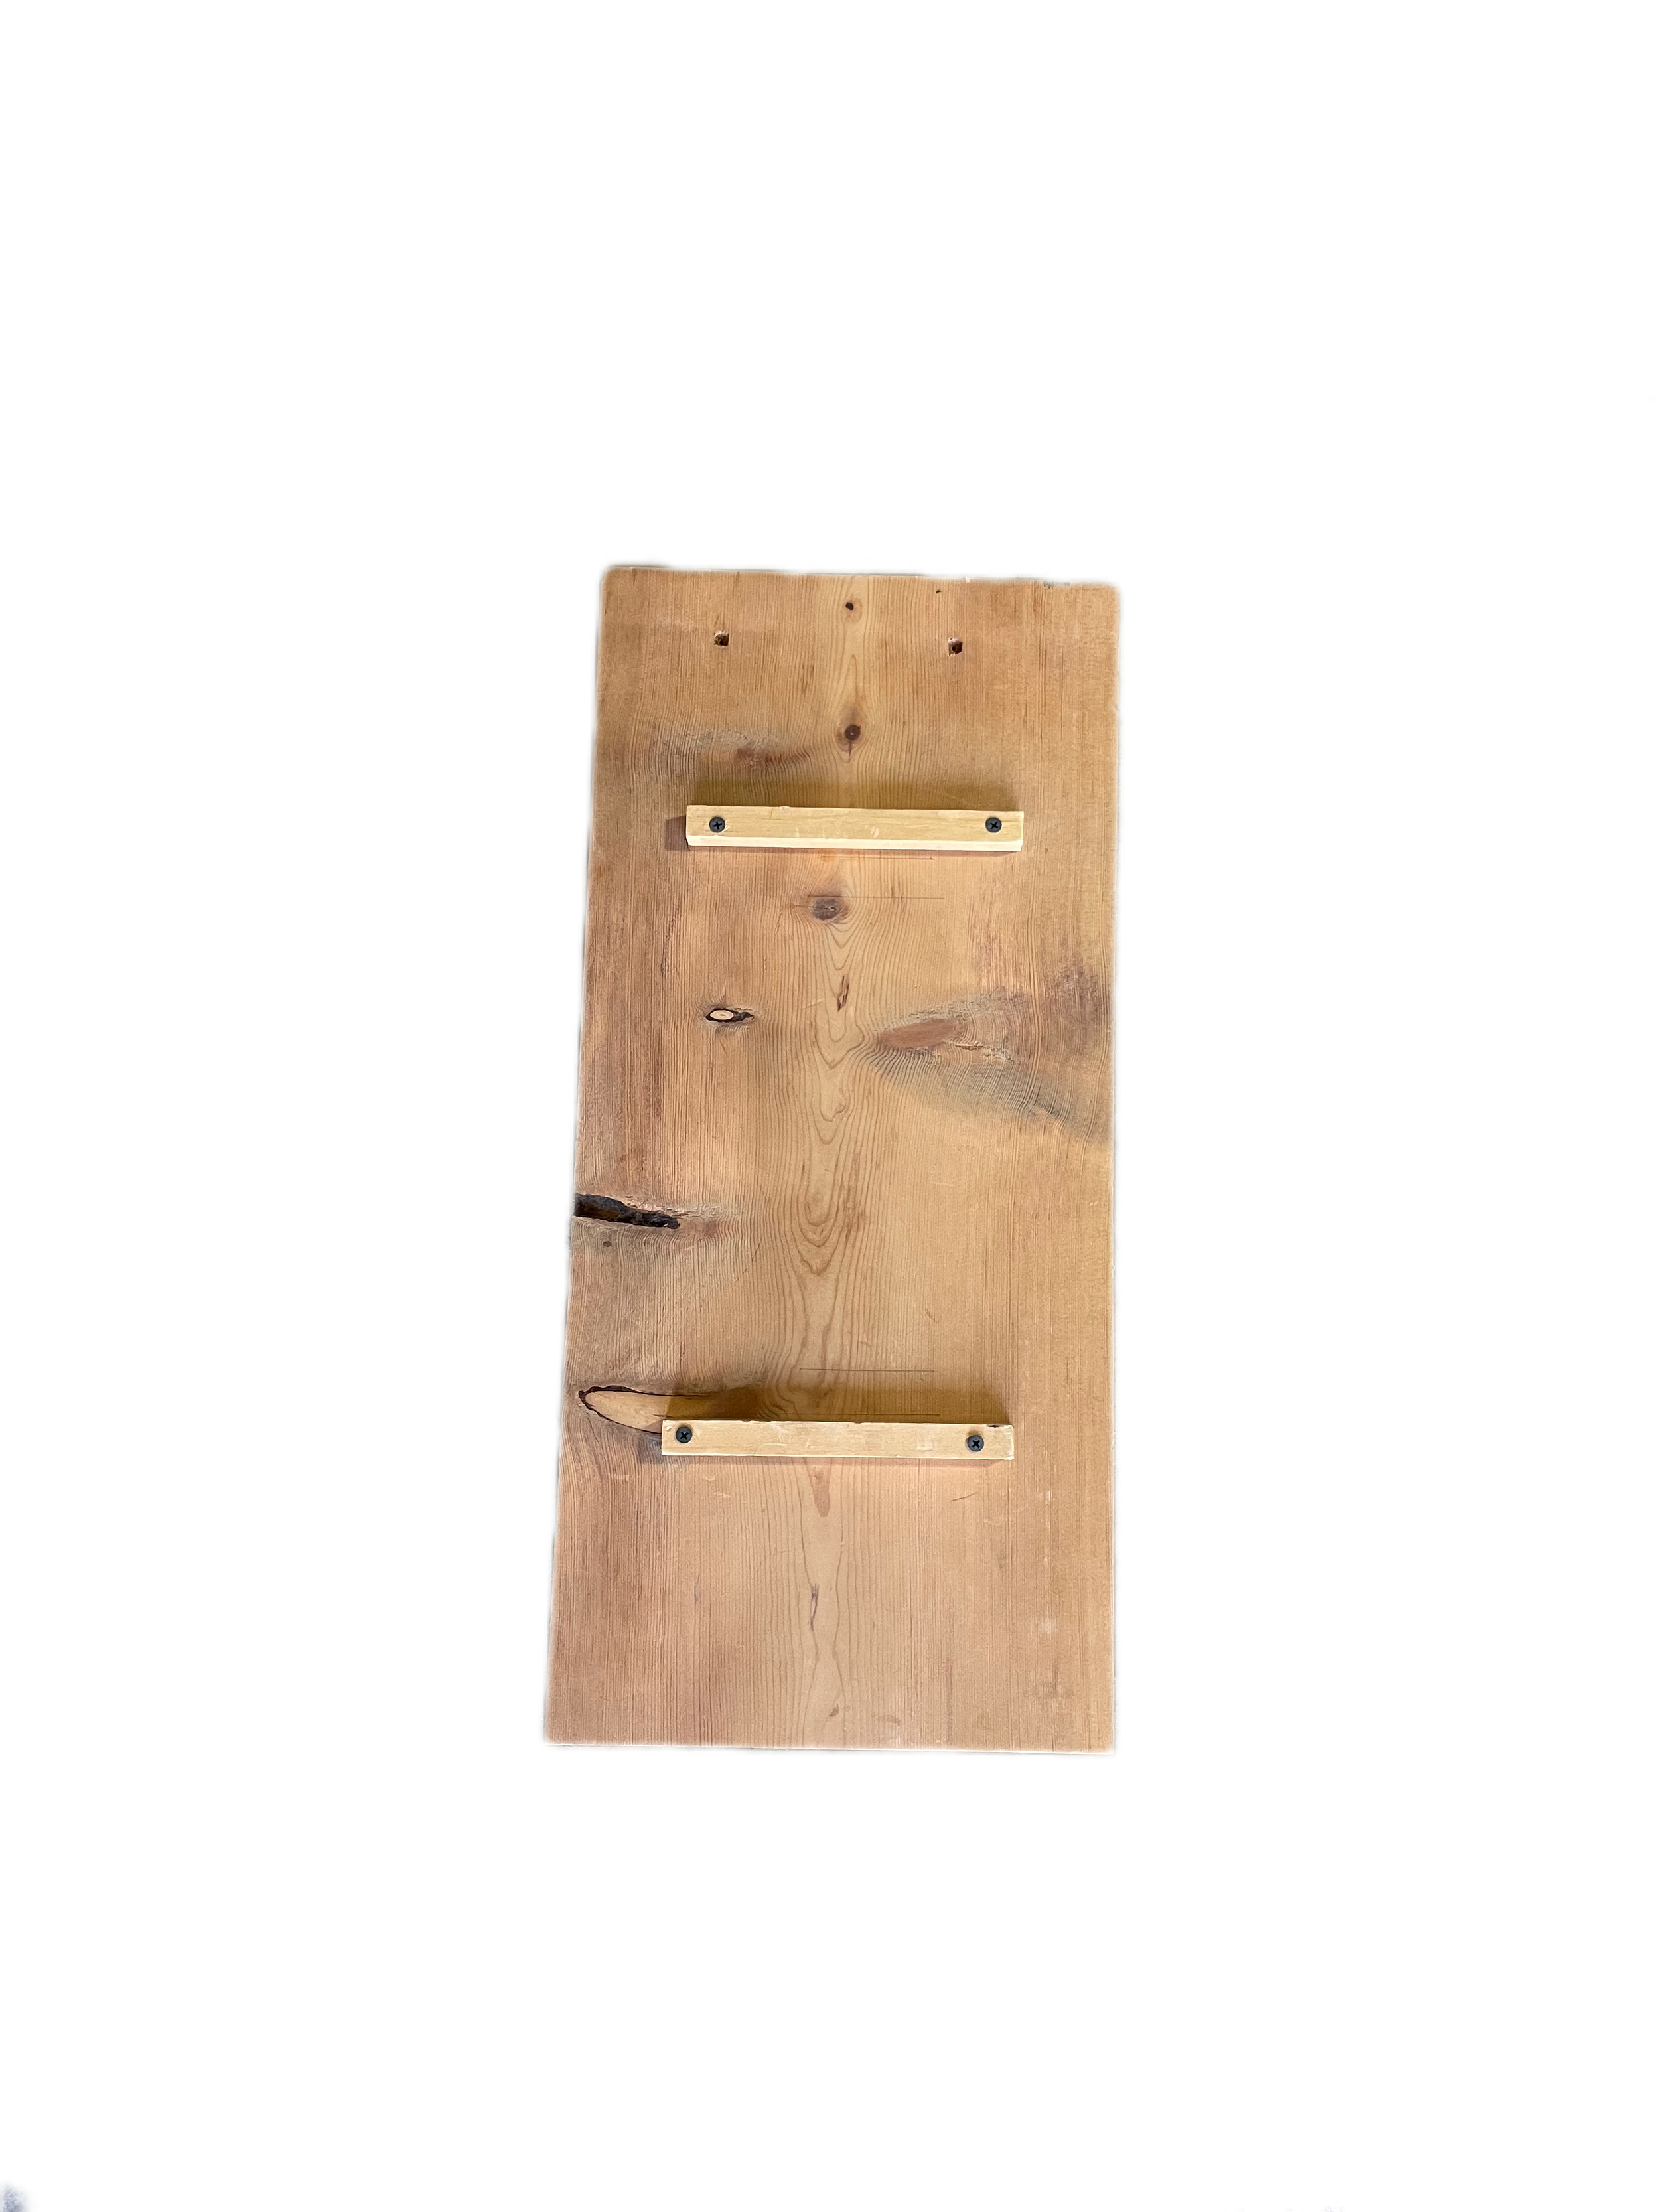
Assembling the frame was simple enough. We started with one side of the frame attaching the cross pieces where the shelf would sit. Once one side was done we matched the other side so they would be identical. Once both sides of the frame were together we were able to attach the hinges at the top. We then cut the shelves down to size and added cleats (a wedge-shaped block, usually of wood, attached to a structure to act as a support). In this case the cleat was used to stop the shelves from sliding and preventing the frame from opening. We placed the cleats to sit against the outside of the cross pieces of the frames for the top and bottom shelves and to sit in the middle for the middle shelf.
The numbers come out a little odd as I was making this custom to fit my needs. The length of the frame needed to fit in my car but I also needed it to fit my products so you can see from the plan the shelves are not placed equally on the frame. If you were to make something similar take that into account, what worked for me may not be the best for your display. You might use this as a bookshelf and would not need as much space between shelves, you could even add more shelves. The possibilities are endless for what you could use this for and that may change the way you want to build it.


Below are links to items I used or would have used if I did not already have the items. None of these are affiliate links. I wanted to provide you with a better picture of my supplies. All links are from Home Depot.