
Epoxy and Walnut Table
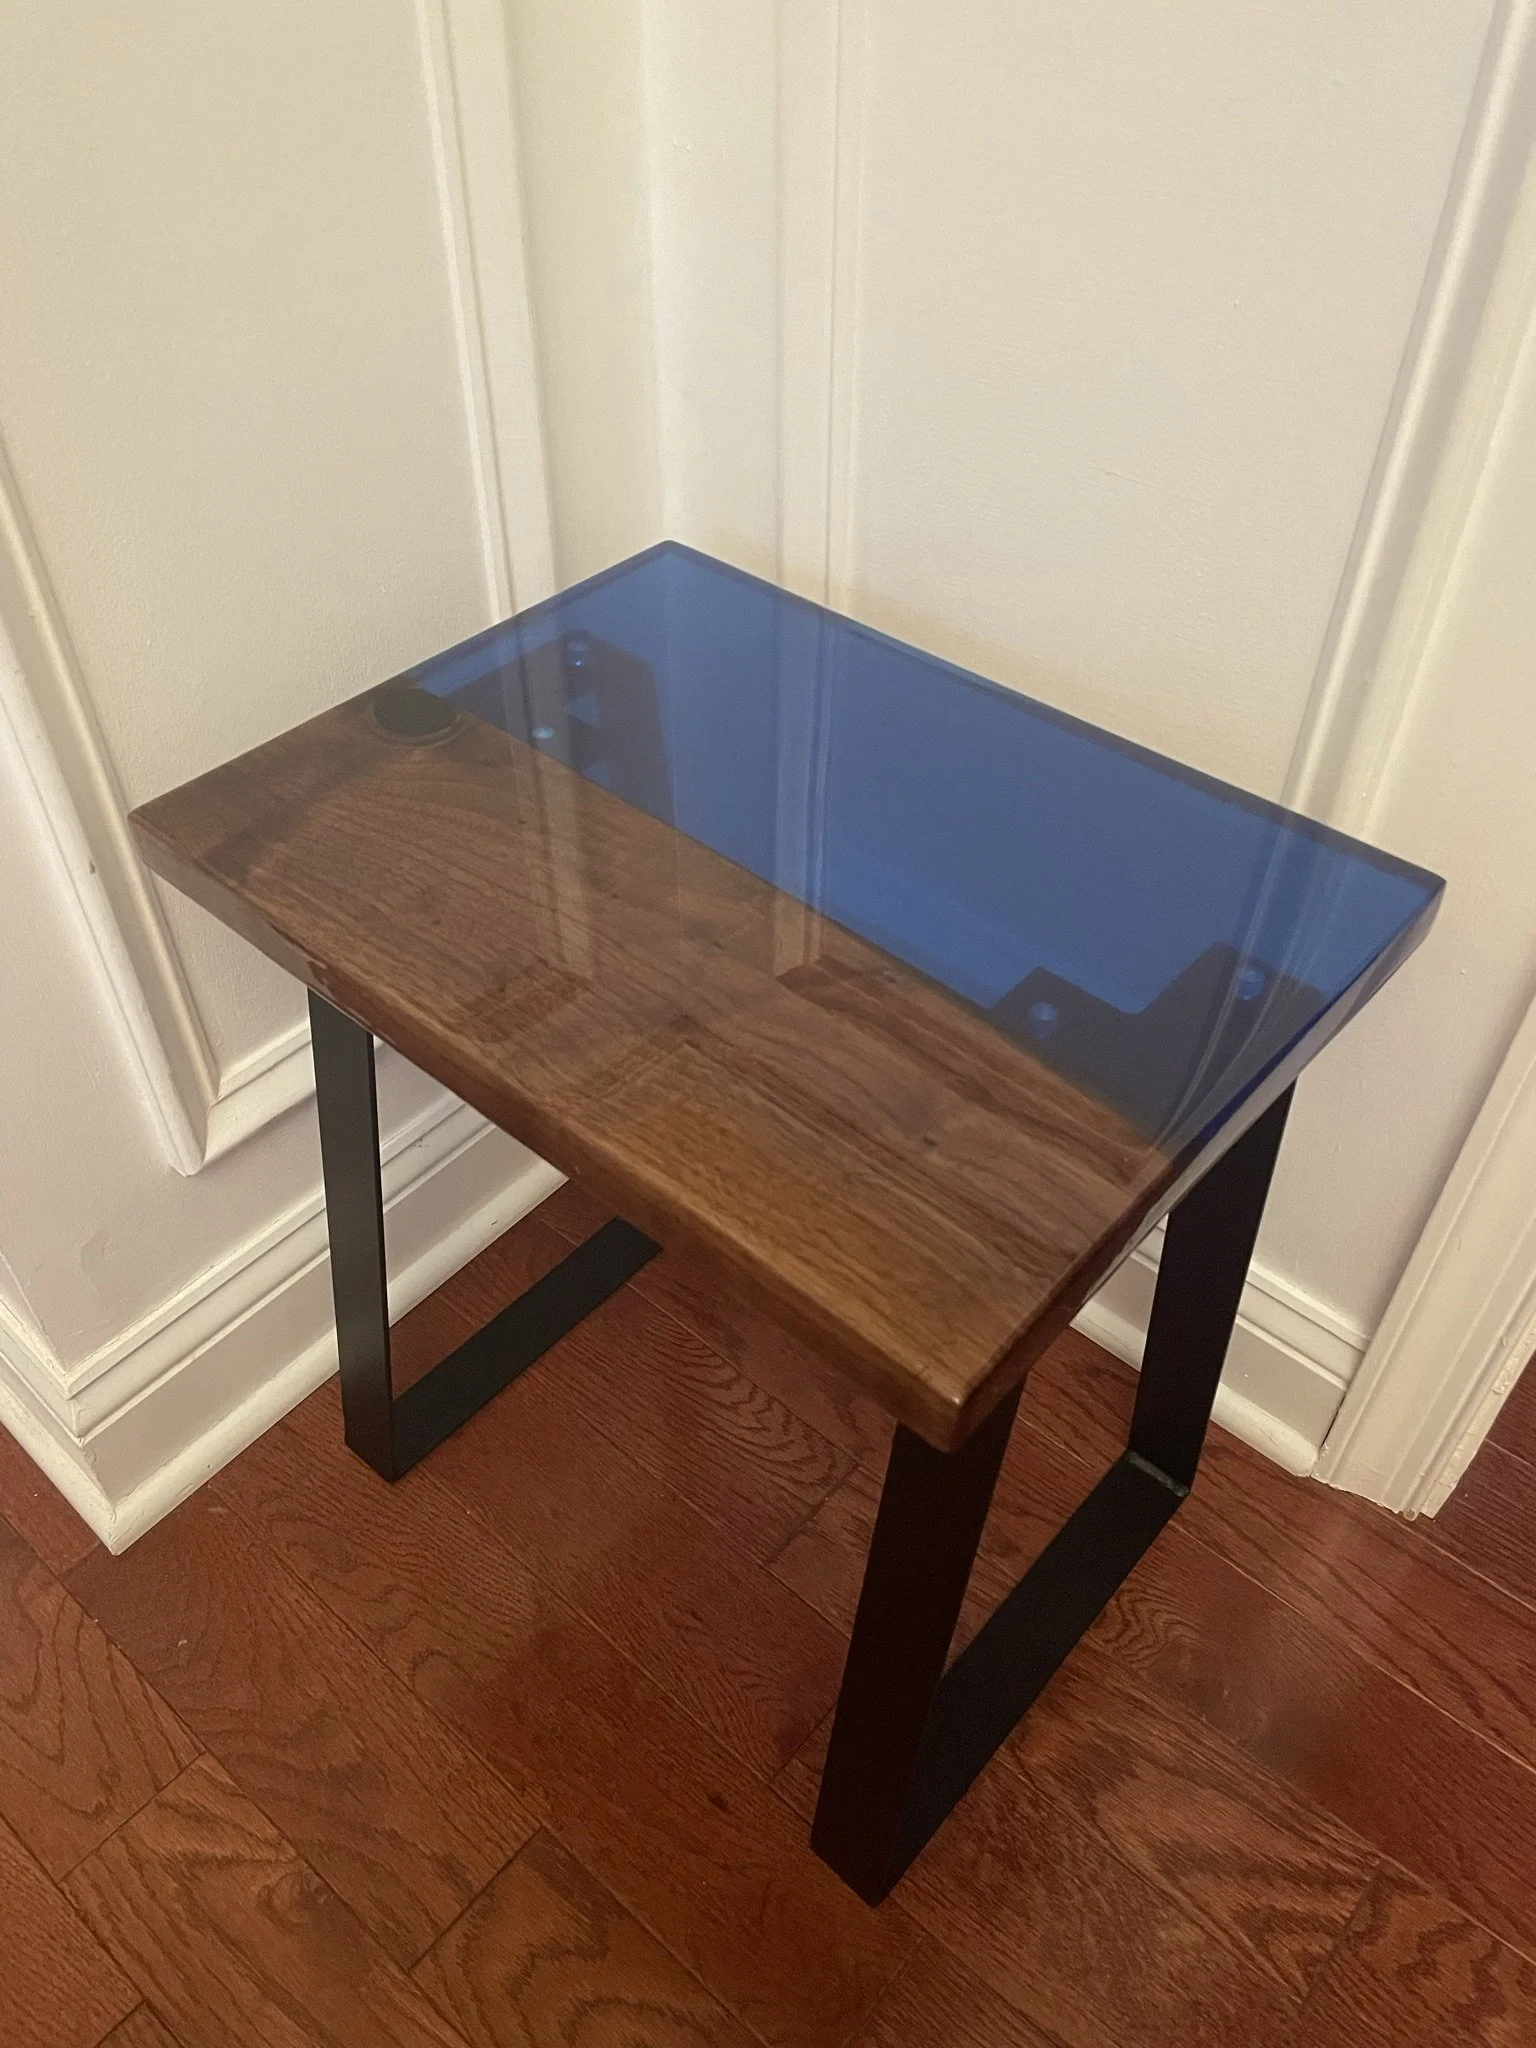
I had the idea to make a resin ocean table with waves that you could see through and although the plan changed it still turned out well. This was my first time using a deep pour resin and there were some learning curves along the way.
Materials:
Shop Supplies
Wood-I chose the rustic walnut from Forest2home
Mold-Makers reusable mold in 16x12 from Bear Wood Supply
Deep Pour Epoxy Resin- I exclusively use Mas Epoxies Use code AMYC for 10% off and free shipping.
Tabletop Pro Epoxy Resin
Silicone
Mixol tint in #99 Deep Ocean
Threaded Inserts and bolts
Table legs
Super Glue or 5 Minute epoxy
Paste Wax
Silicone Cups/Bowl to mix resin
Stir Sticks
Tools:
Sander
Benchtop Planer
Drill
Wrench
Saw
Rubber Mallet
Heat Gun or Torch to pop bubbles in the resin
Chisel is optional to help remove the resin from the mold and the silicone from the piece.
Step 1
Assembling and prepping the mold. This mold requires silicone on all joints, so the resin does not leak out. It has also been recommended to me to use a paste wax as well so the resin is easier to release from the mold once cured.
Step 2
Once the mold is set to its assembled dimensions, I measured to see how long I needed to cut the walnut. The assembled interior of the mold was 16 inches, so I cut at about 15 ¾. The rustic walnut is rough and it required planning and sanding to get to the smooth finish I was looking for.
Step 3
Wood will naturally soak up some of the resin so at this point I mixed a small amount of tabletop epoxy resin to seal the sides of the wood and let that cure overnight. Once cured I used the same silicone, I used to seal the joints to adhere the wood to the bottom of the mold and applied a weight to keep it down and let that fully set up overnight.
Step 4
Following the instructions for the deep pour epoxy resin I mixed and tinted the resin to fill the mold. Mas Epoxies has a resin calculator on their website that I used to make sure I was mixing the correct amount for the size of my mold.
(This is where I messed up. I mixed and added more resin thinking it was not enough and my resin had an exothermic reaction, meaning it cured faster than it should have. This caused the resin to pull away from the sides of my mold and I had to do some repair by adding an additional layer of resin.)
Step 5
After the cure time of 24-36 hours, I was able to unmold the tabletop and begin removing any silicone that had stuck to the piece.
Step 6
Plane and trim to final dimensions. Sand for a smooth finish.
Step 7
At this point I did a topcoat of Tabletop epoxy resin on the top and bottom and letting it cure. For an easier time removing drips you can add a layer of paste wax or liquid latex to the bottom but if using the paste wax you may have to sand that layer to make sure it is fully removed before adding additional resin to that section. I did the top and bottom since I had some mishaps during this process. This is optional if you have sanded the tabletop and oiled it to your liking. I wanted the whole top to have a nice shine to it.
Step 8
Drill for the threaded inserts to match the table leg holes, screw in the inserts with some super glue or 5-minute epoxy and let cure. Attach table legs with bolts.
This project was completed in 2021 and was the first time I had worked with deep pour and it really taught me some lessons. Go slow, less can be better, layers are your friend. I am always learning with every project and although if I made this again I would do it differently, I am still grateful to have been able to finish this project even with the struggles I had with it. This table has been used daily in my home and still looks great.


